Setting up multiple static IP addresses on a Raspberry Pi
05 Apr 2019 · Programming · 3 min readAfter looking up in a couple of sites, I couldn’t find a working configuration to get multiple IP addresses working on the wlan0 interface for a Raspberry Pi running Raspbian Stretch (Desktop version). This version of Raspbian configures the network interfaces via the dhcpcd service instead of networking, like other distributions of Linux.
Therefore, the approach I took was:
- Disabling
dhcpcd - Enabling
networking - Modifying
/etc/network/interfaces
Step-by-step process
In order to ease the process, enter your bash terminal as root, or add sudo before all the above commands if you prefer.
Prerequisites
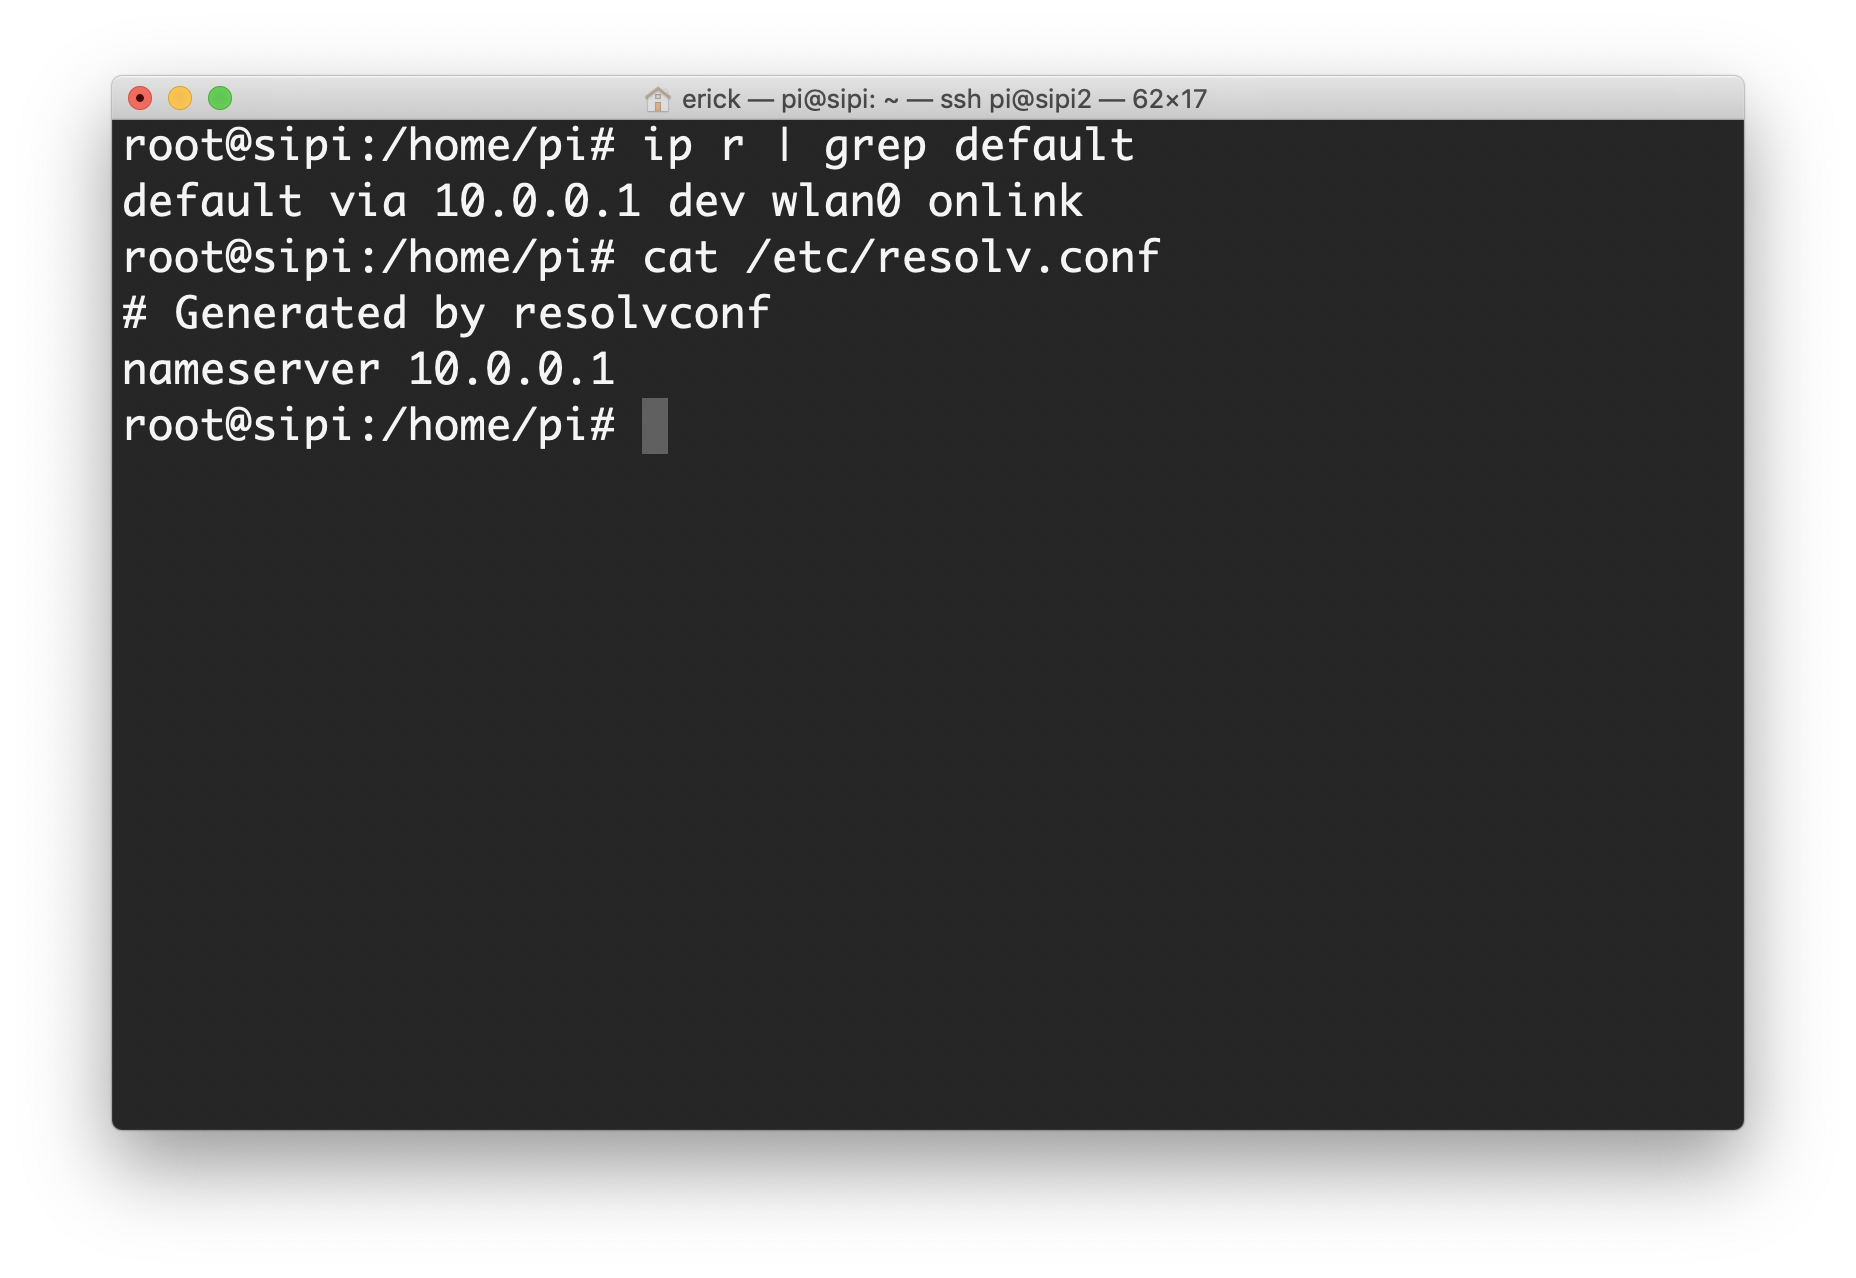
Before you start, if you don’t know your default gateway’s IP address, you may use:
ip r | grep default
If you don’t know your current DNS, you may use:
cat /etc/resolv.conf
Write down these two IP addresses, you may need them later.
Configuring your interfaces
Configure your /etc/network/interfaces file as you like, you may use any text editor you like:
auto lo wlan0 wlan0:0
iface lo inet loopback

allow-hotplug wlan0
iface wlan0 inet static
	address 10.0.0.10/24

iface wlan0:0 inet static
	address 10.0.0.100/24

gateway 10.0.0.1
dns-nameservers 10.0.0.1
wpa-conf /etc/wpa_supplicant/wpa_supplicant.conf
My network is configured to work under the range 10.0.0.1-10.0.0.255, but you may configure it as it fits your needs (normally, home networks use 192.168.1.x). Also, you should be sure of which is your gateway’s IP address (your router) and the DNS that you choose to use. In my case, my router manages my DNS resolutions, so I set the same address for both.
Also, note that the wpa-conf is specified at the end. This will configure your network’s Wi-Fi credentials. If you have configured your network before using the GUI, the credentials should already be there. If not, you will need to configure it manually. This part is very important, because your interface won’t connect to your Wi-Fi network if you don’t configure it.
Setting up the services
As mentioned before, disable dhcpcd:
systemctl disable dhcpcd
Then, enable the networking service:
systemctl enable networking
Finishing up
So that’s it, if you configured everything correctly your interface should be ready. Now perform a reboot:
reboot
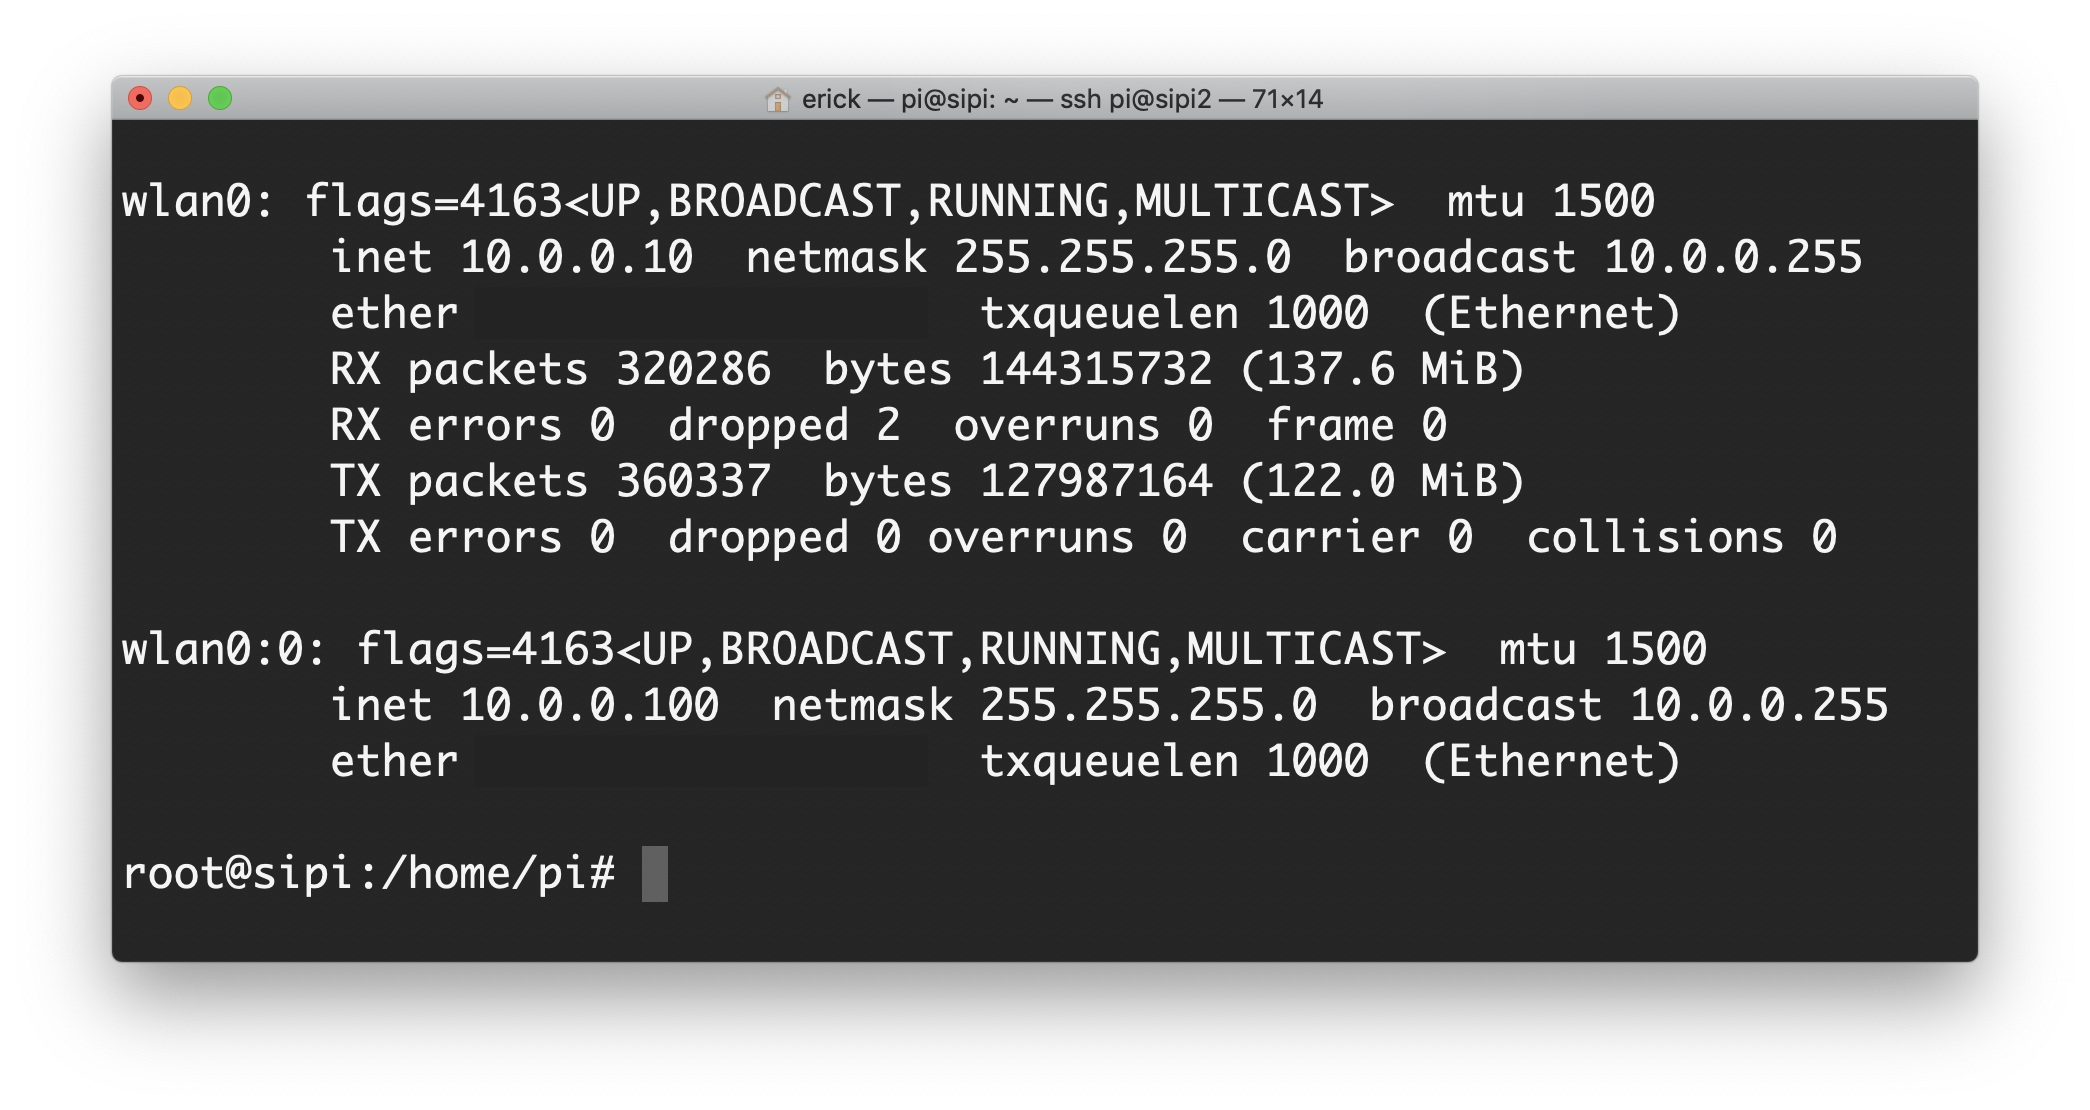
Once you have restarted, if you are using GUI, open the terminal. Then check your current IP addresses:
ifconfig
You should now see the wlan0 interface with the IP address you defined, along with the additional virtual interfaces as wlan:x, in my case, wlan0:0.
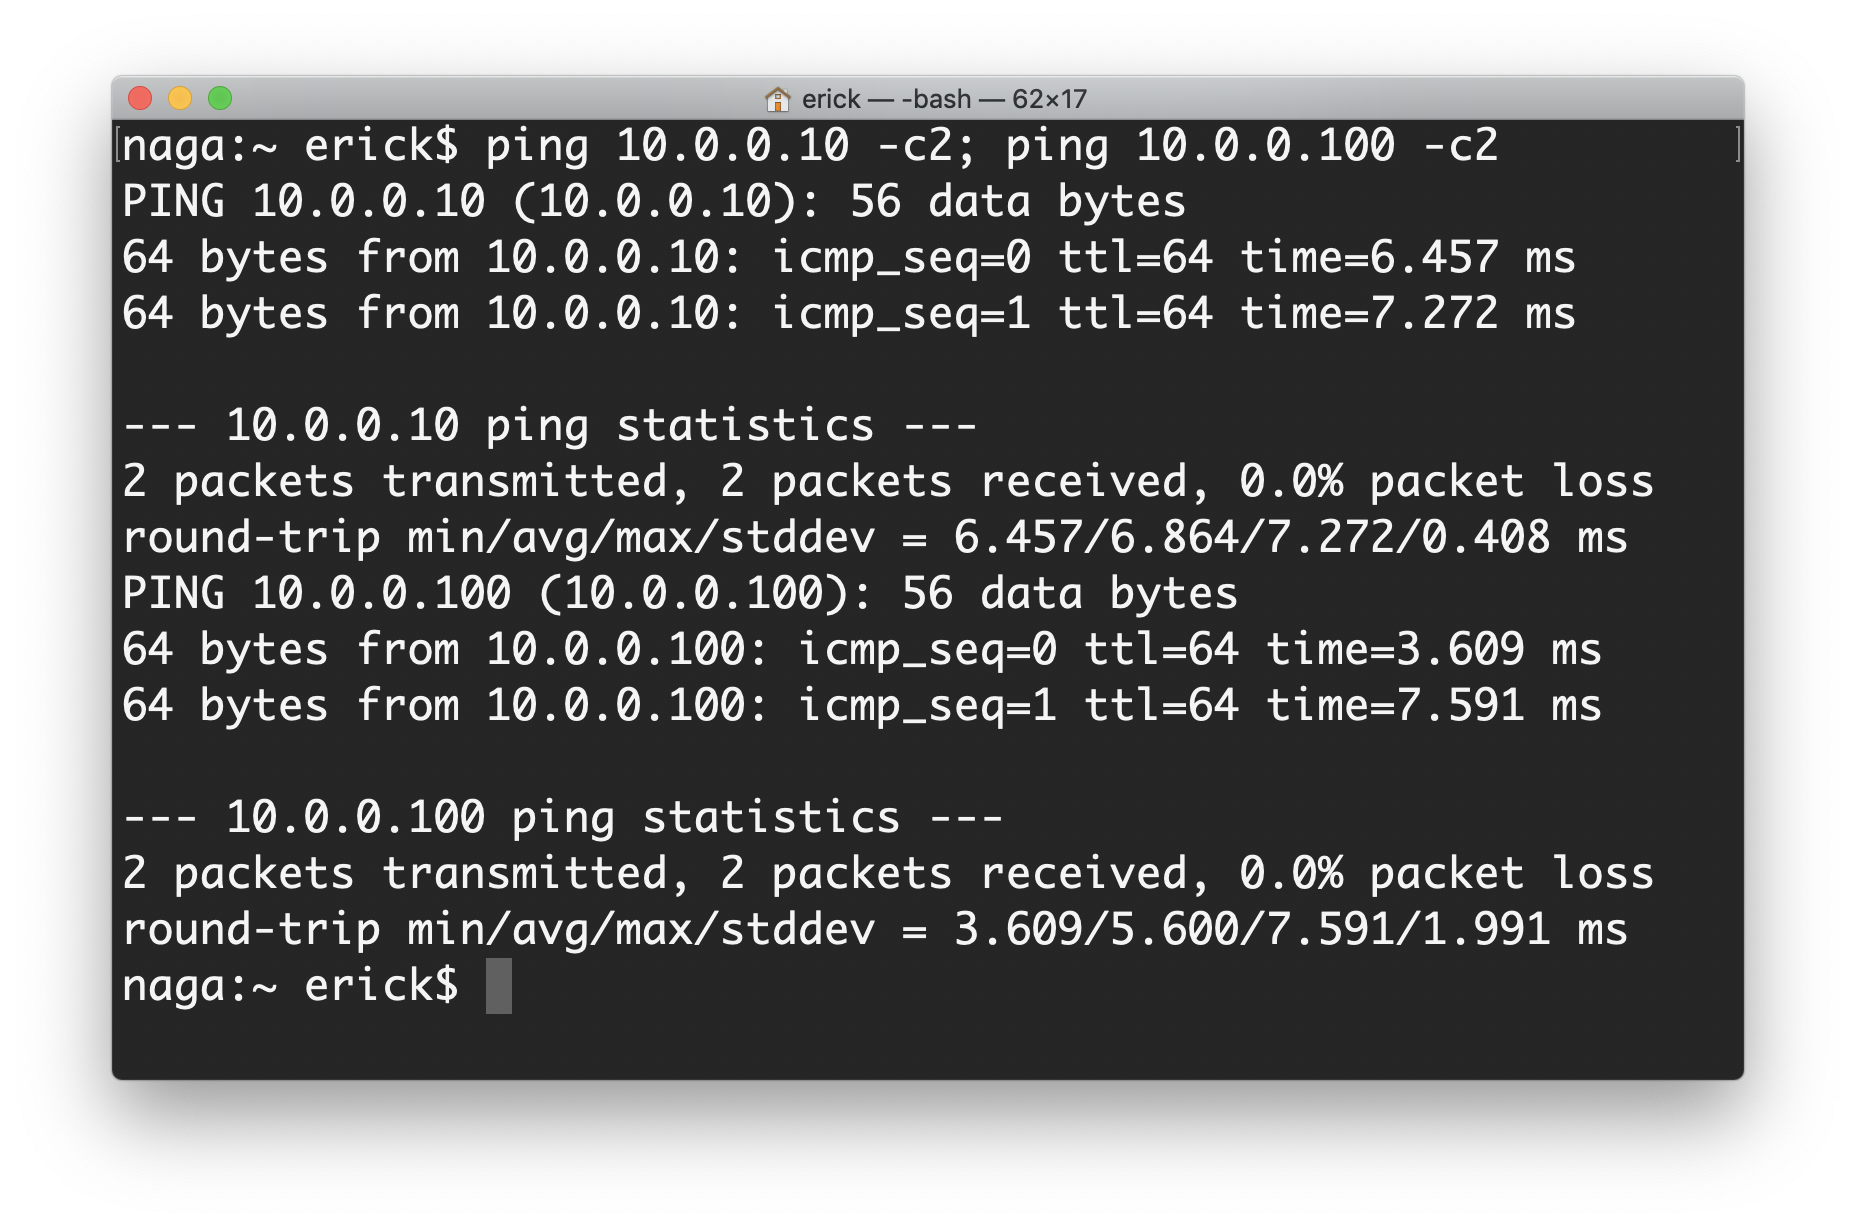
If you want to test that the IP addresses were actually assigned on your network, try pinging both of them from another computer. From my laptop I get:
Conclusion and notes
Please note that this process may disable your Wi-Fi configuration panel in your GUI, so take your precautions. From now on, you will need to configure your networks through the /etc/wpa_supplicant/wpa_supplicant.conf file.
This has been tested in a couple of Raspberry Pis I have and there seems to be no major issues. However, feel free to give some feedback on how to improve this method or even on how to achieve this using dhcpcd.